
Photo and Video Guidelines
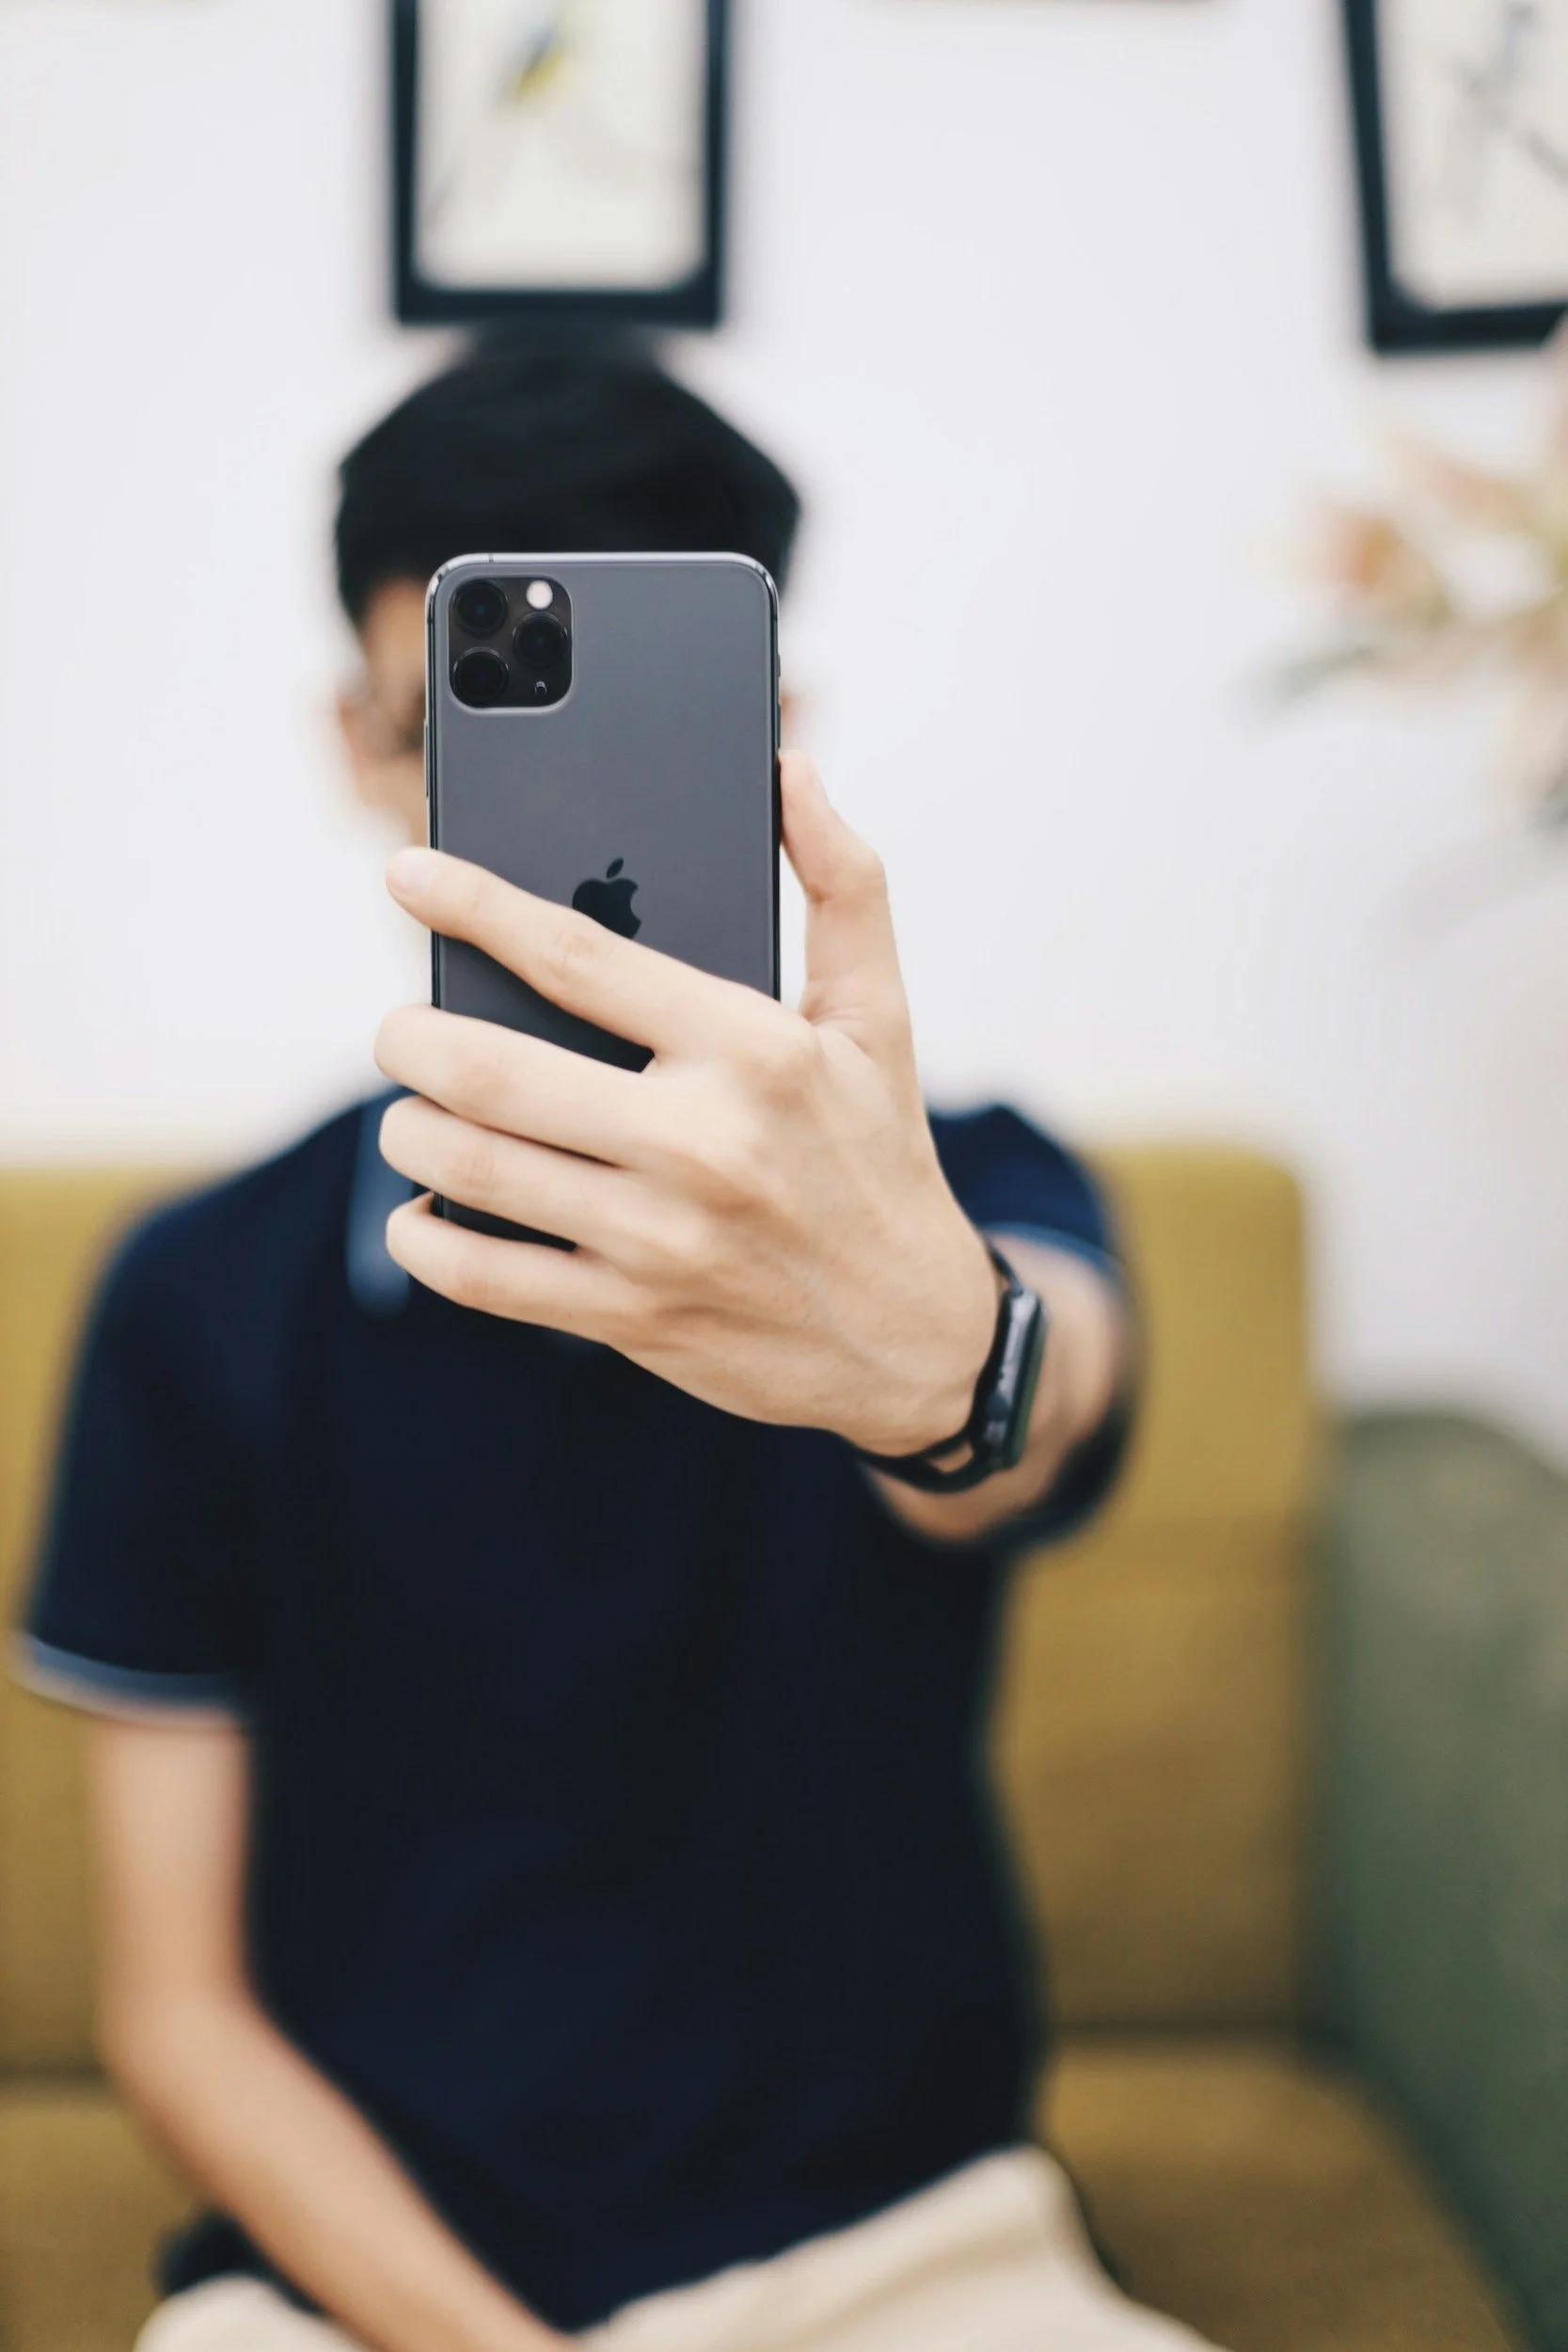
Thank you for helping us create content for Lung Cancer Europe.
These simple guidelines will help you capture clear, high-quality photos and videos that we can use across our communications.
You don’t need specialist equipment. Most modern smartphones produce excellent results, and a little preparation before you start can make a big difference.
video guidelines
✦
photo guidelines
✦
video guidelines ✦ photo guidelines ✦
Positioning
Aim to fill the frame without feeling cramped. Showing some upper body and natural hand gestures creates a more open, engaging content and gives us flexibility when adding captions and graphics.
-
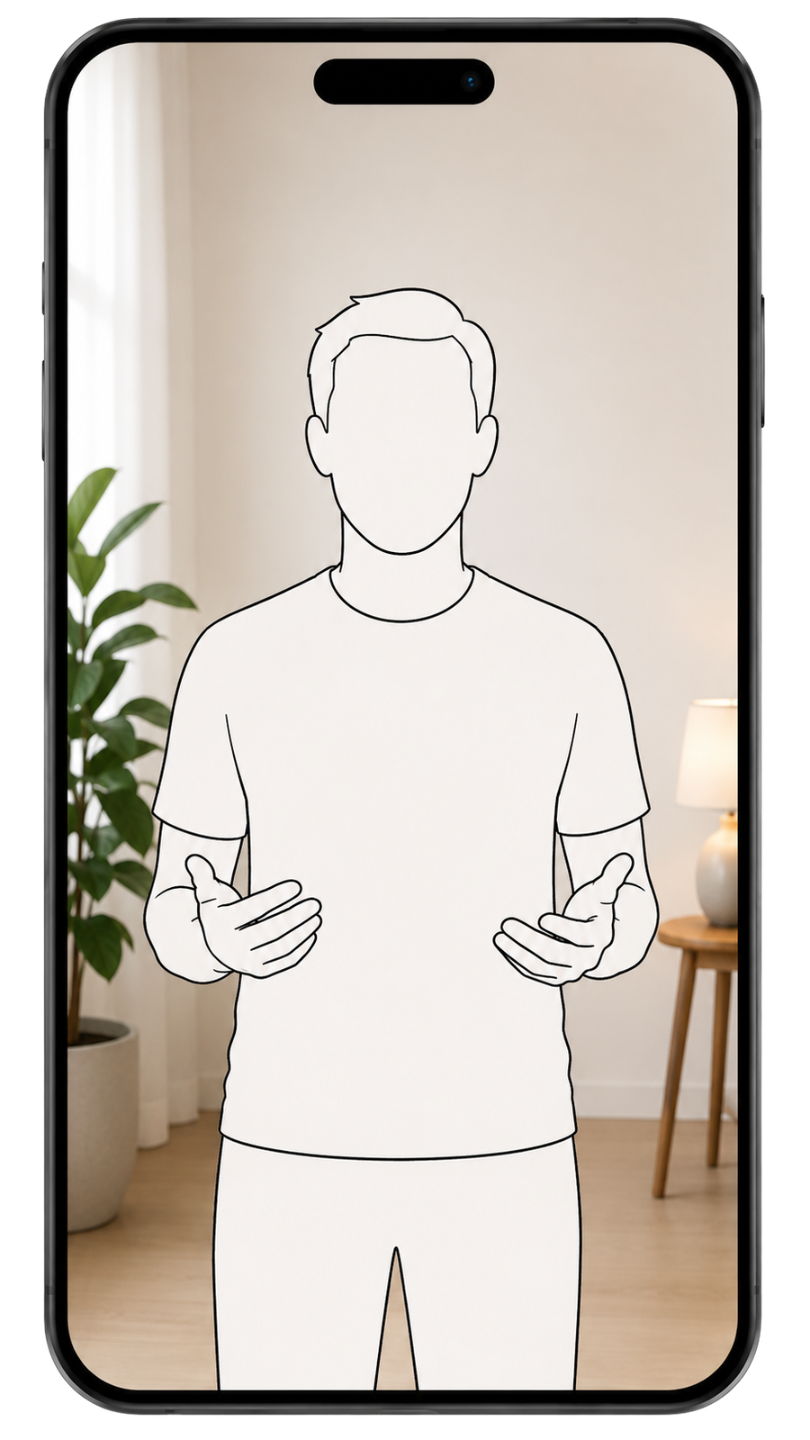
✅
Frame yourself from around mid torso upwards, with a small amount of space above your head. Keep your shoulders and hands visible where possible.
-
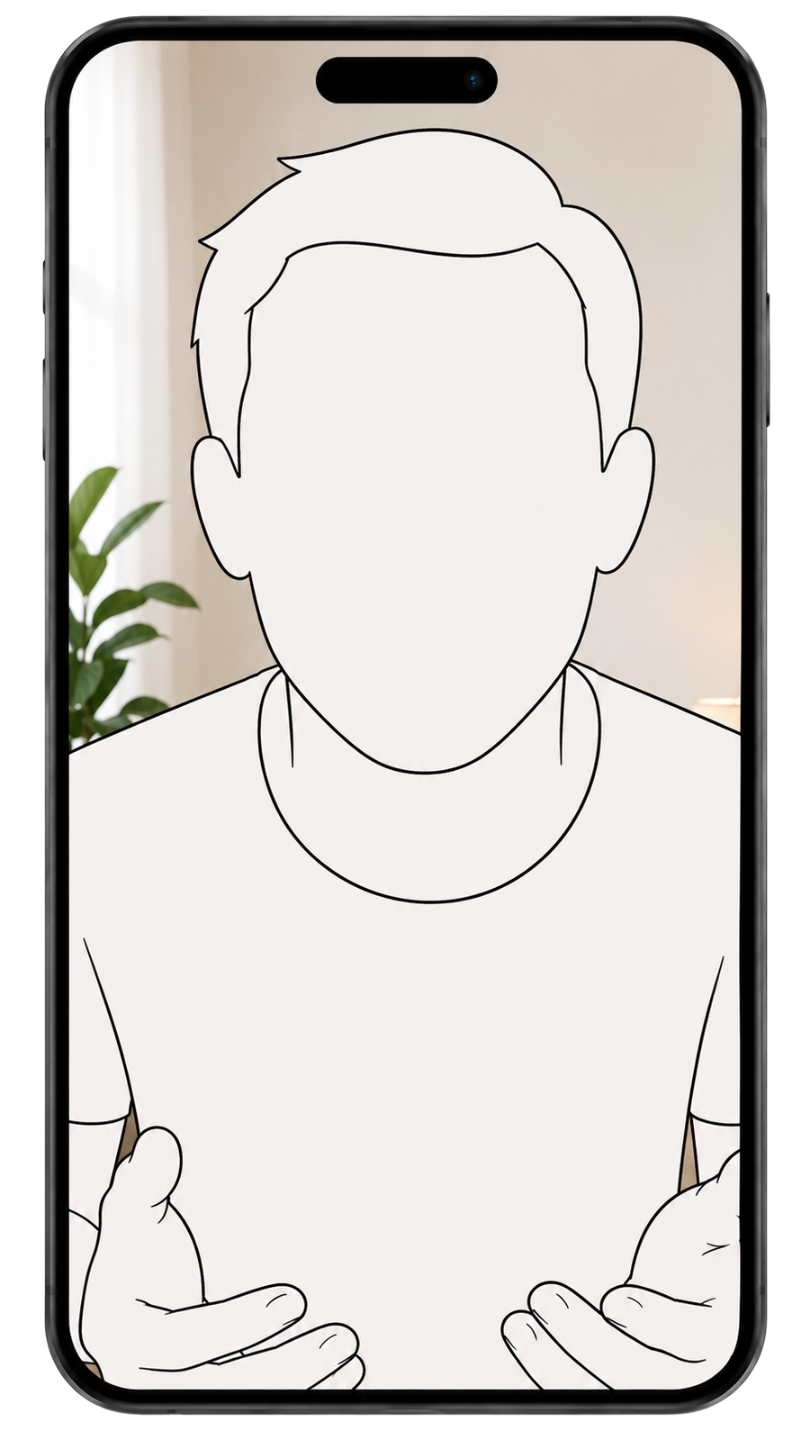
❌
If you're too close to the camera, your face fills the frame and hand gestures are lost. It also leaves little room for captions and graphics.
-
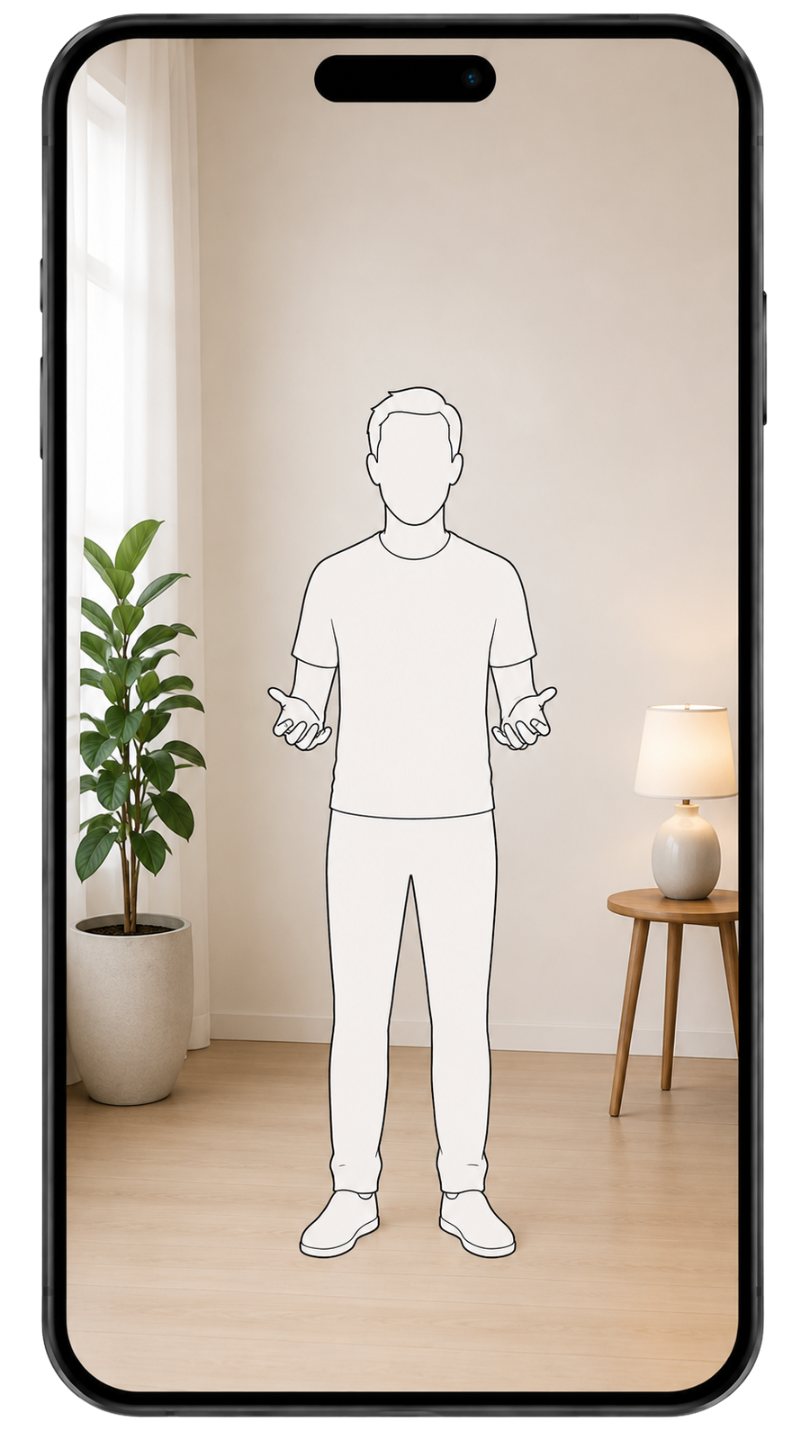
❌
If you're too far from the camera, facial expressions become difficult to see and viewers can feel less connected to you.
Camera setup
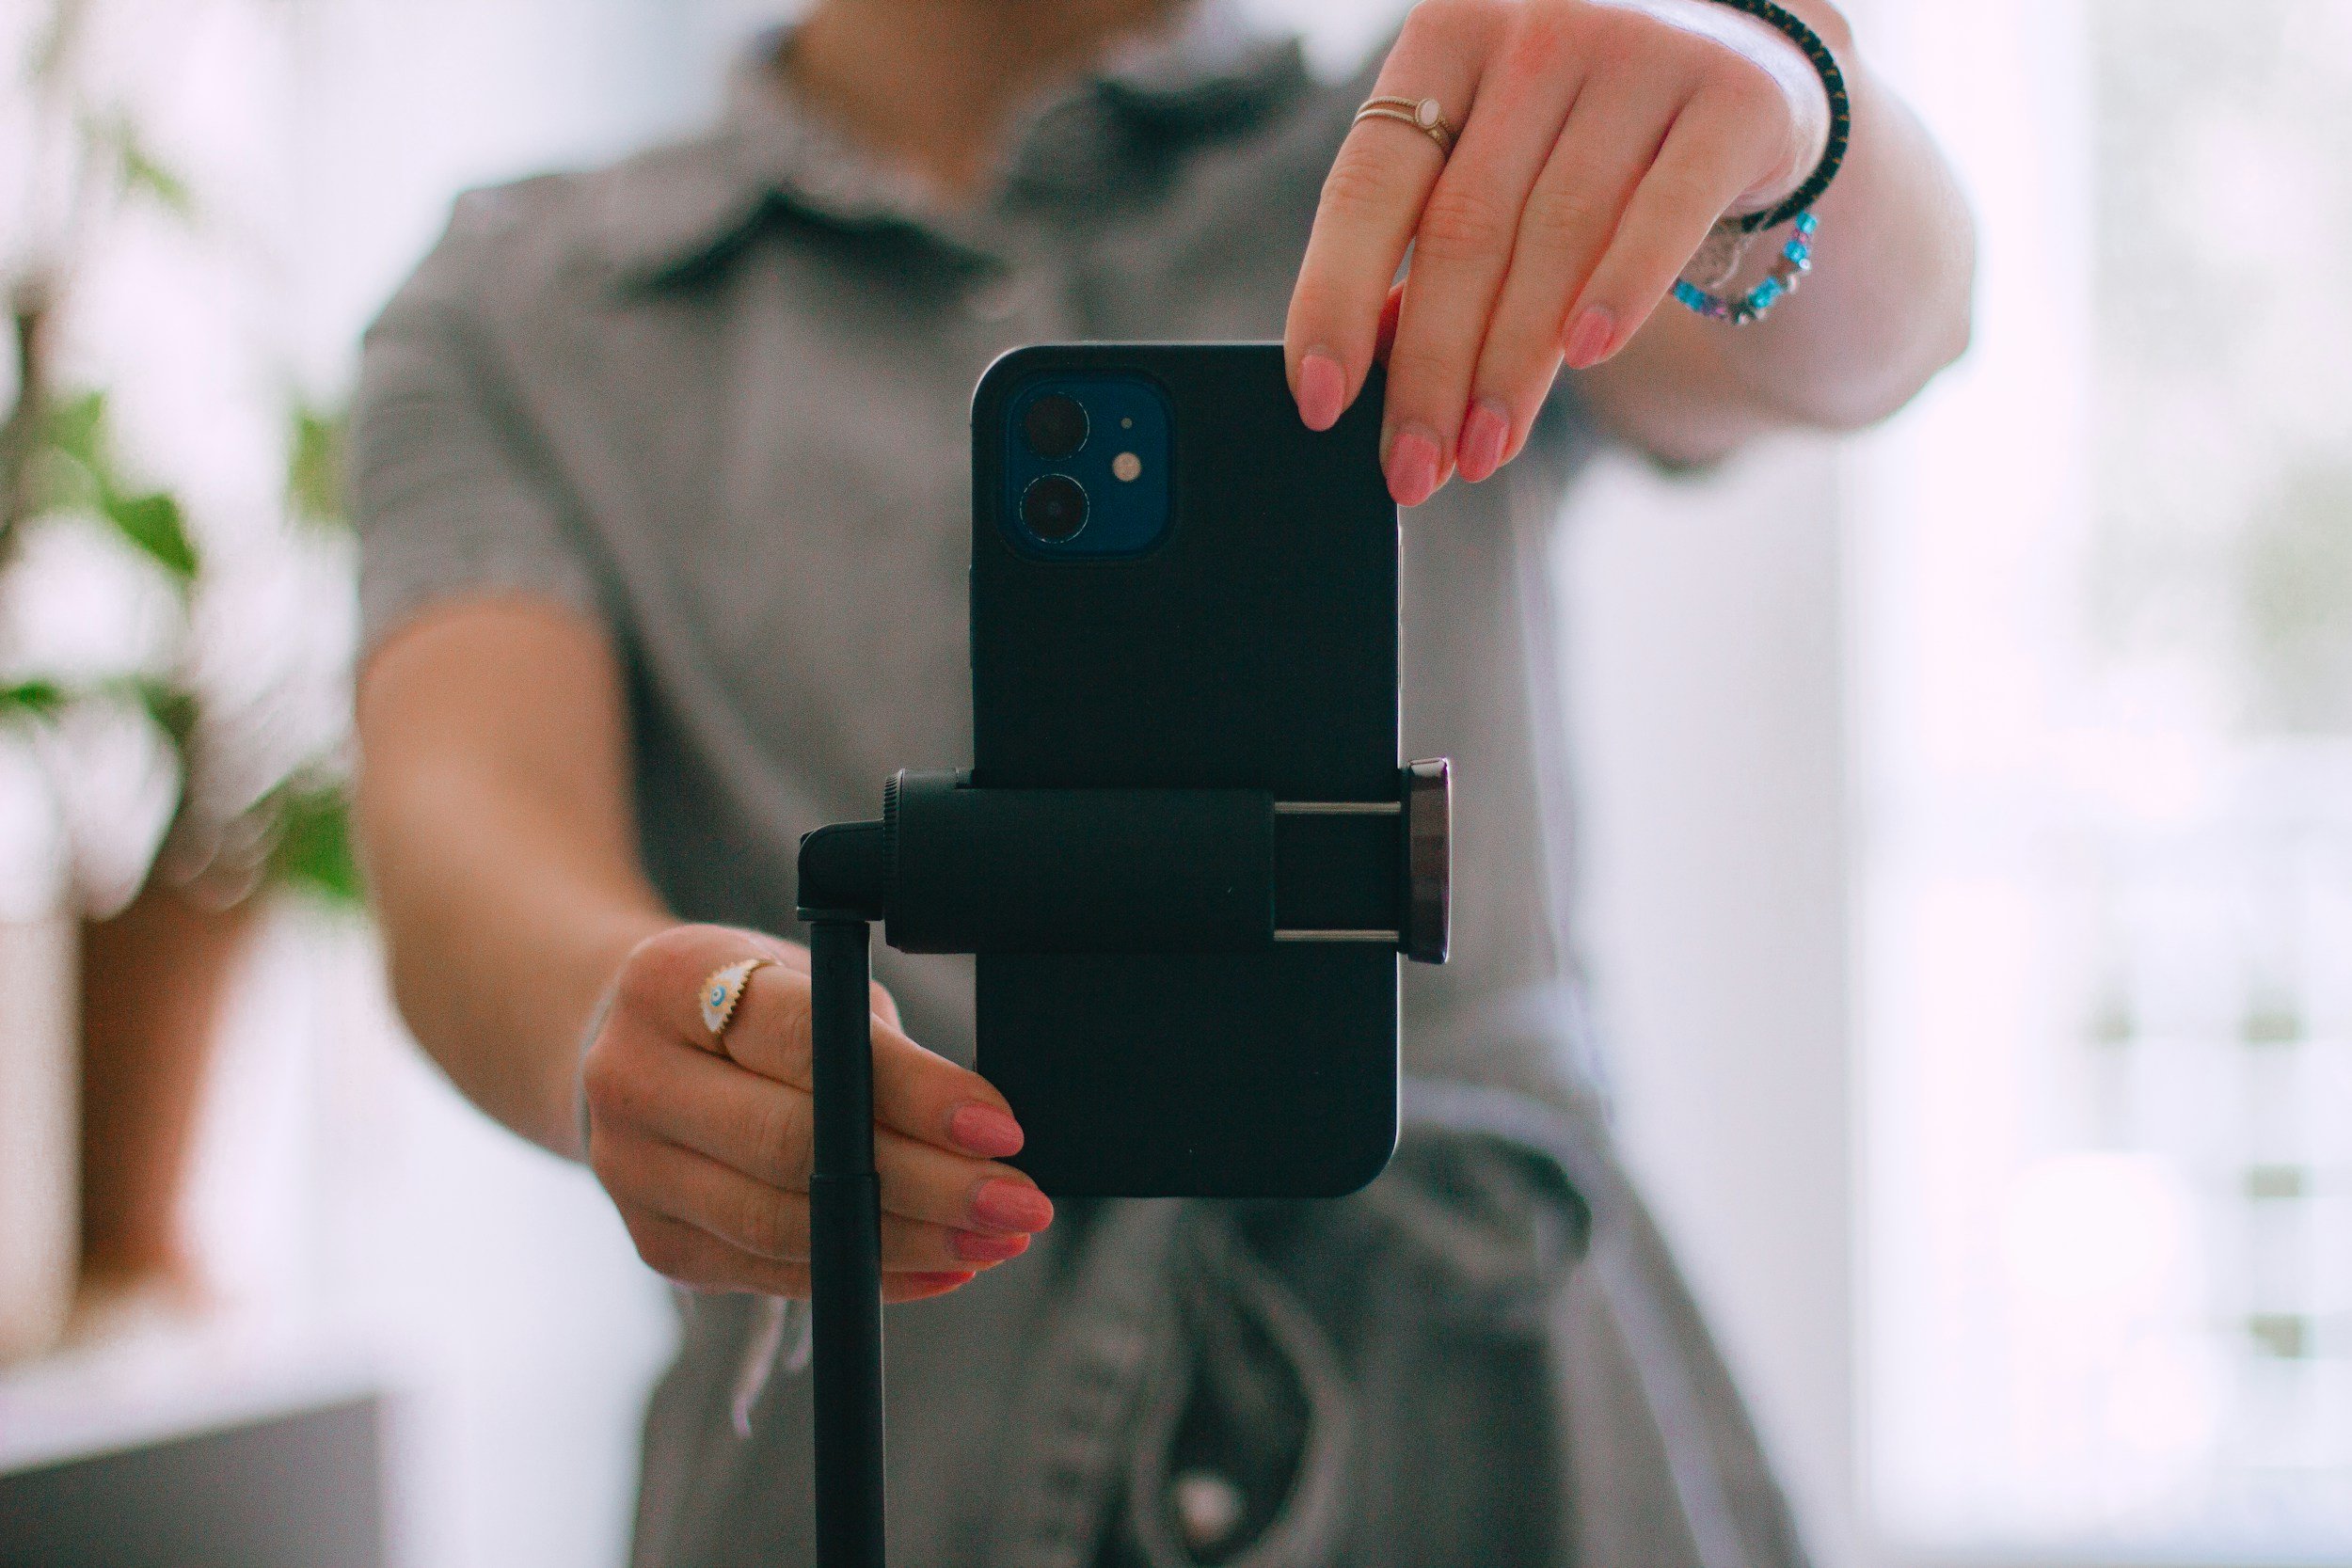
Record vertically (9:16)
Use a tripod or stable surface
Position the camera at eye level
Clean the camera lens before recording
For video:
record in the highest quality available (4K if your phone supports it)
Leave 2 seconds before and after speaking
Lighting
Good lighting is one of the easiest ways to improve your video and photo quality.
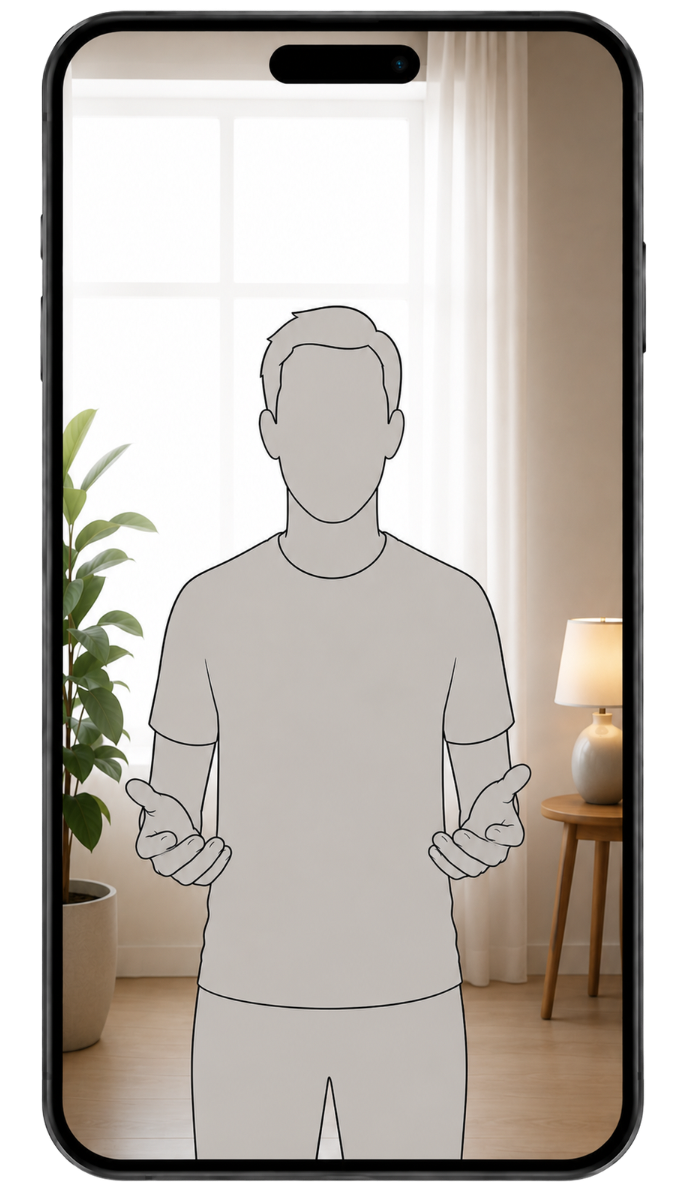
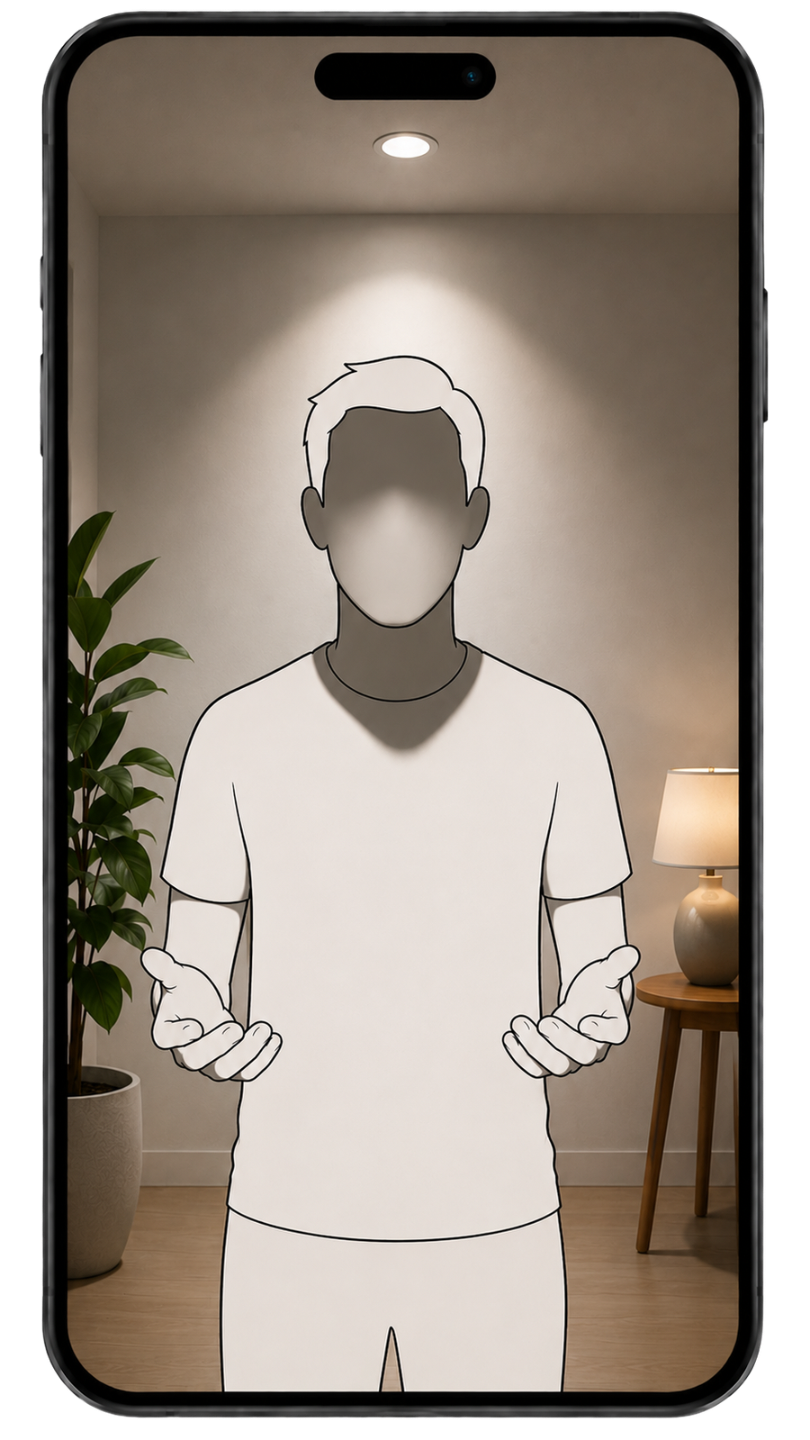
Natural daylight is usually best. Face towards a window or another soft light source so your face is evenly lit. Avoid bright windows or strong lights behind you, as these can leave your face in shadow.
-
✅
Good lighting: Your face is evenly lit and clearly visible.
-
❌
A bright window or light behind you makes your face appear dark.
-
❌
Strong light from directly above creates heavy shadows under your eyes and face.
Background
Choose a quiet location with an uncluttered background. A simple background will help keep the focus on you.
Avoid:
Busy rooms
Moving people behind you
TVs or computer screens
Strong patterns
Loud background noise
Checklist
Before you press record…
✔️ Lens clean
✔️ Phone vertical
✔️ Good lighting
✔️ Quiet location
✔️ Camera positioned at eye-level
✔️ Tripod or stable surface
still photo guidelines
✦
still photo guidelines ✦
Still photos
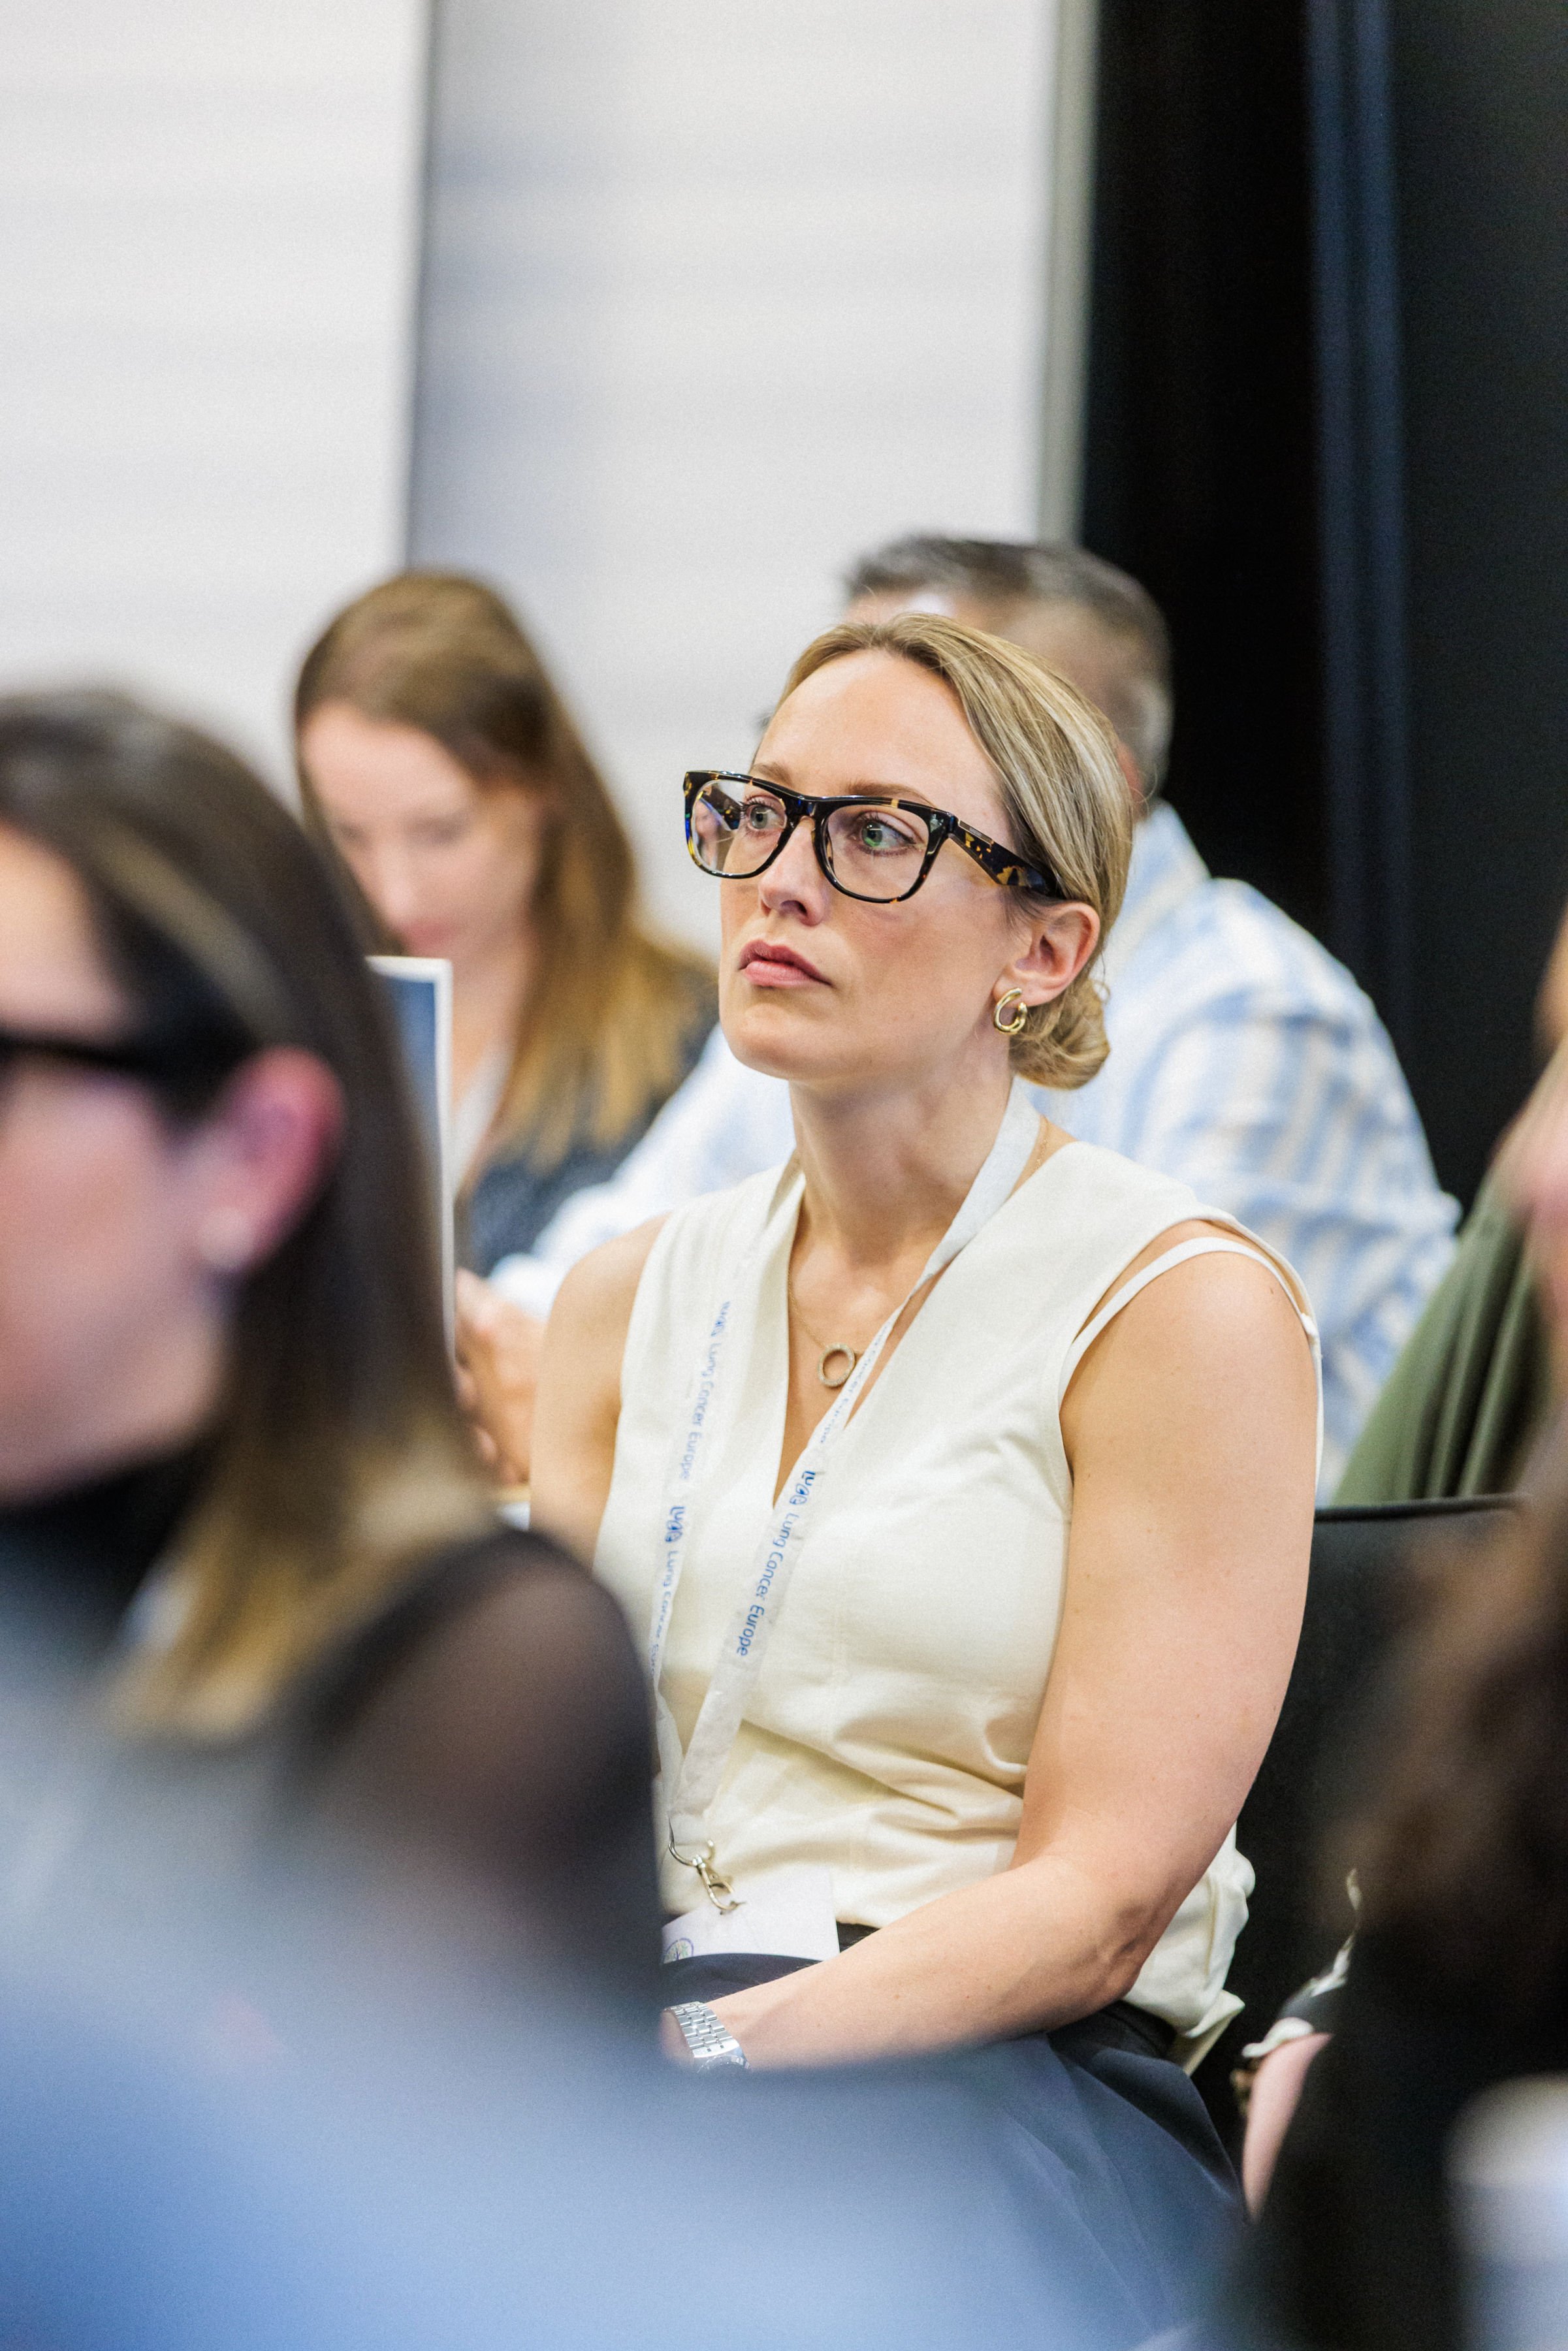
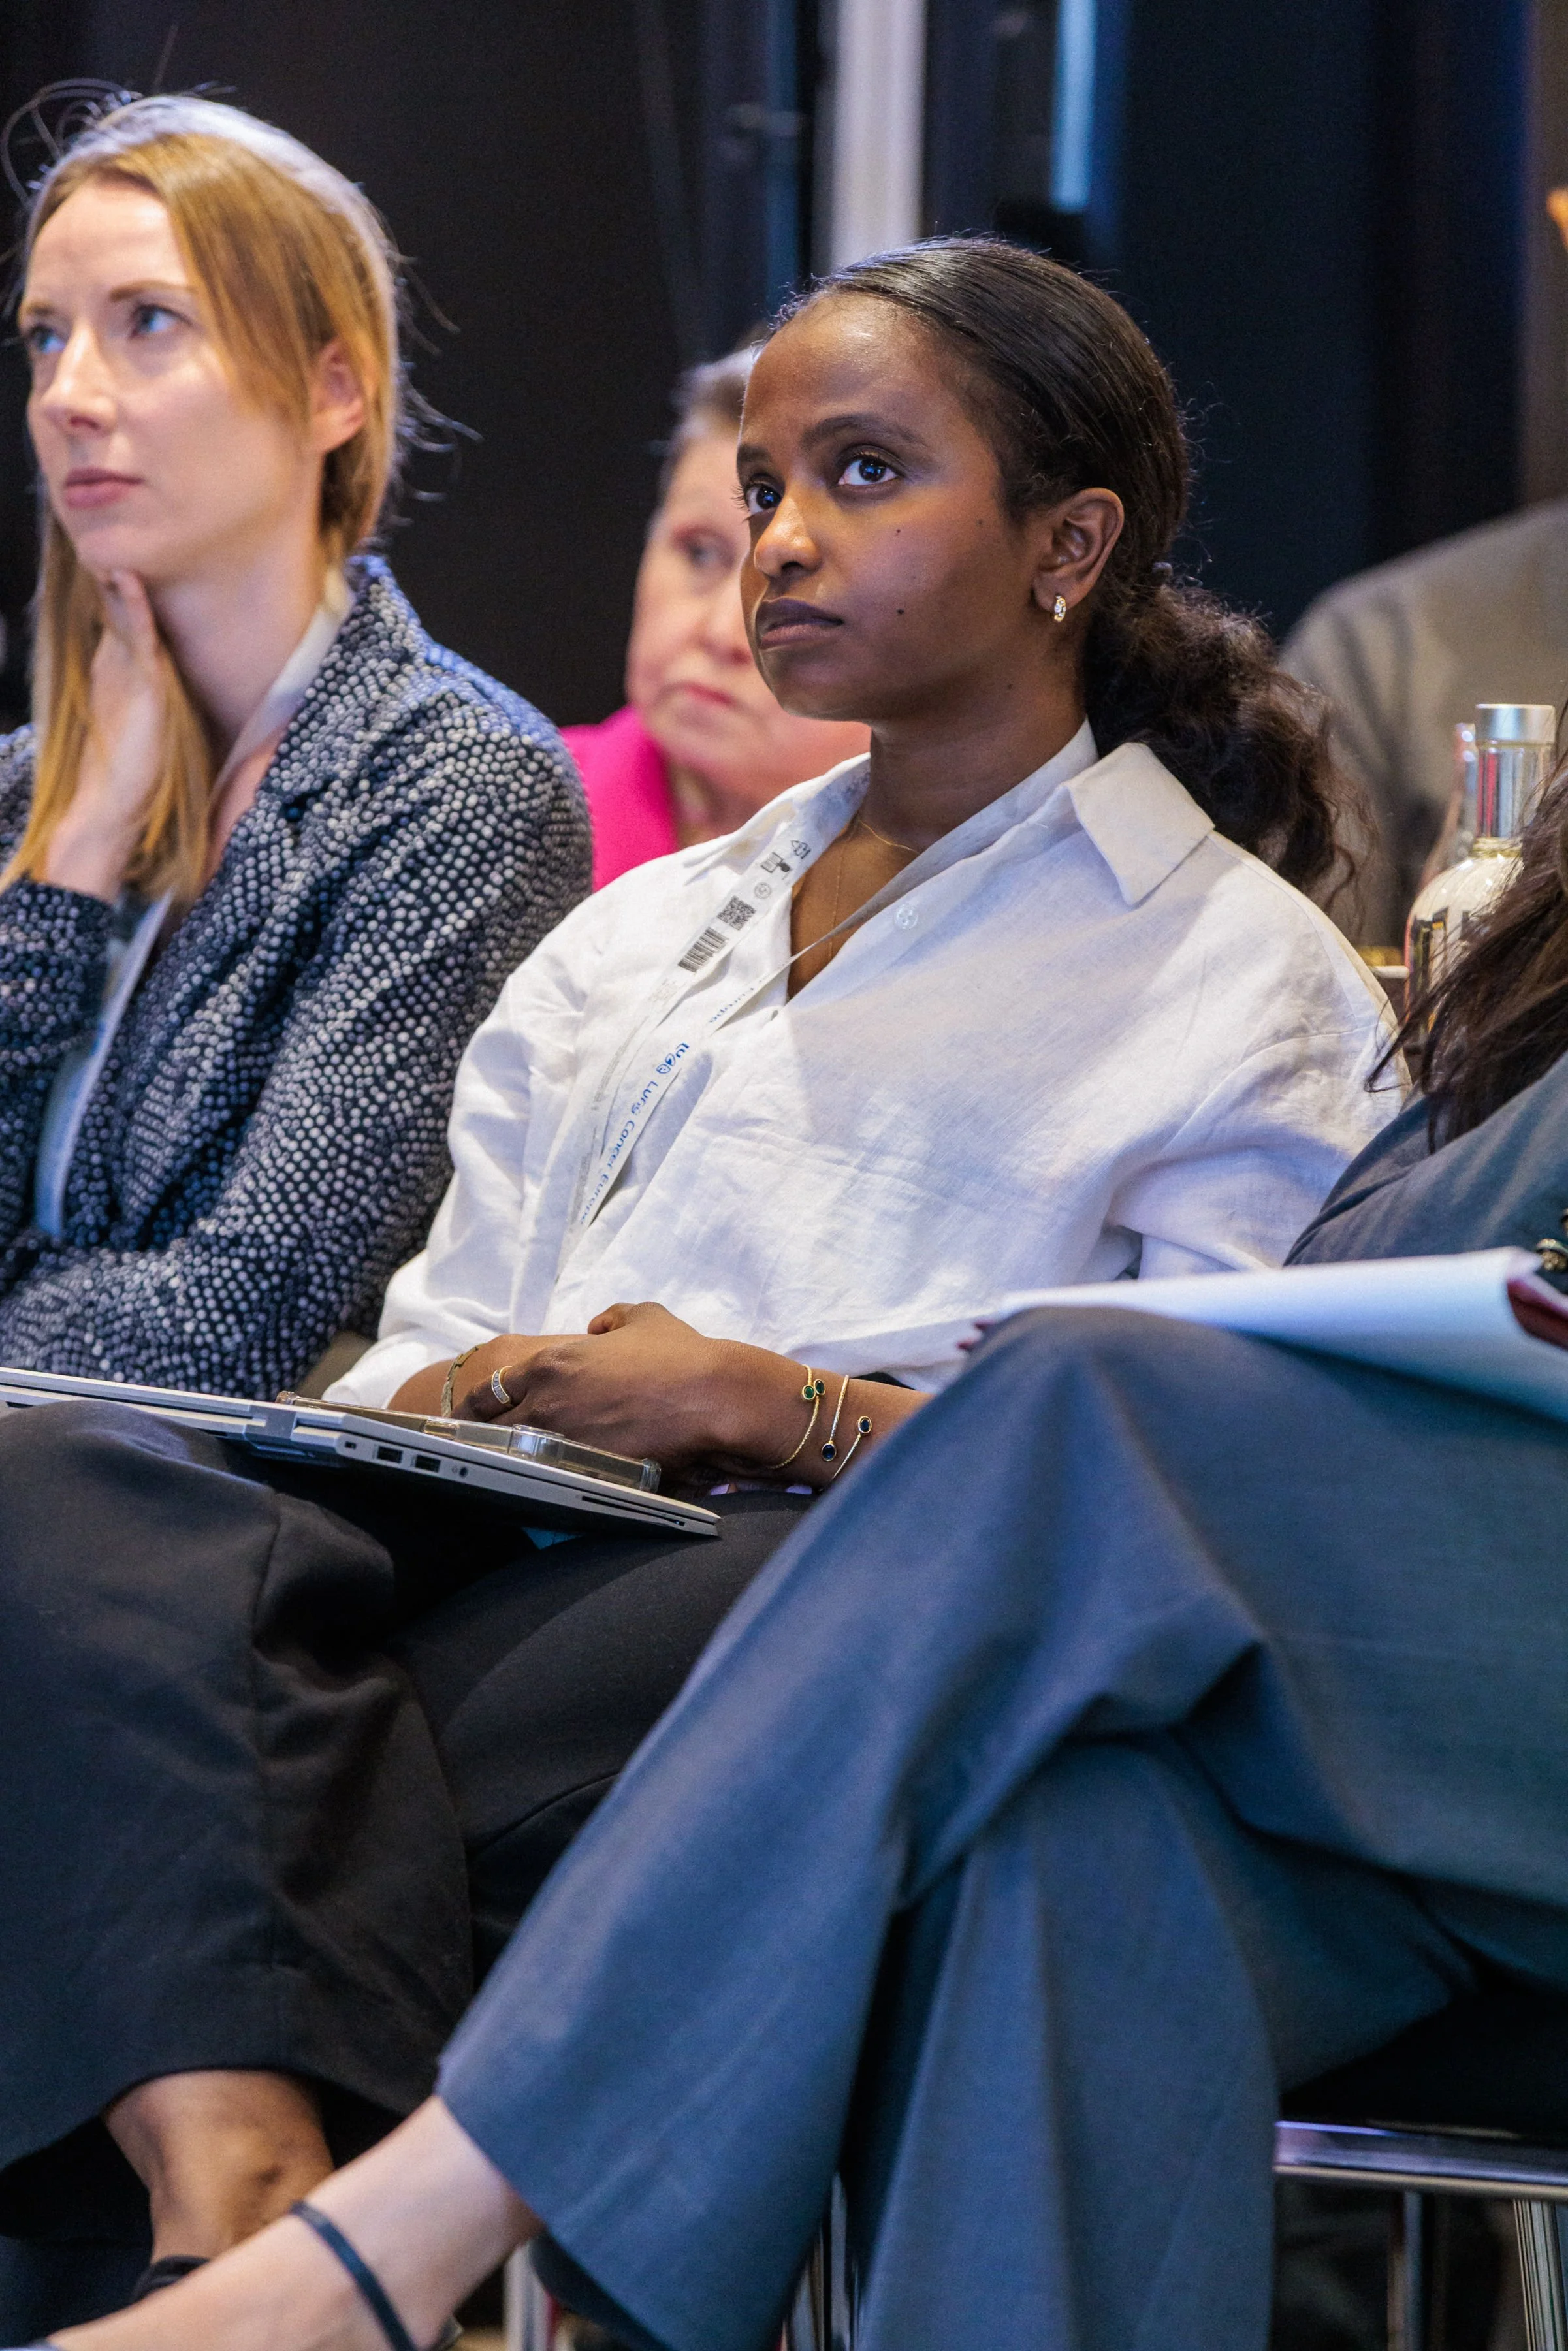
Sometimes we may ask our members, representatives, supporters or team to capture an event they are attending. These photos help us share what is happening across our network through our website, newsletters, social media and other communications.
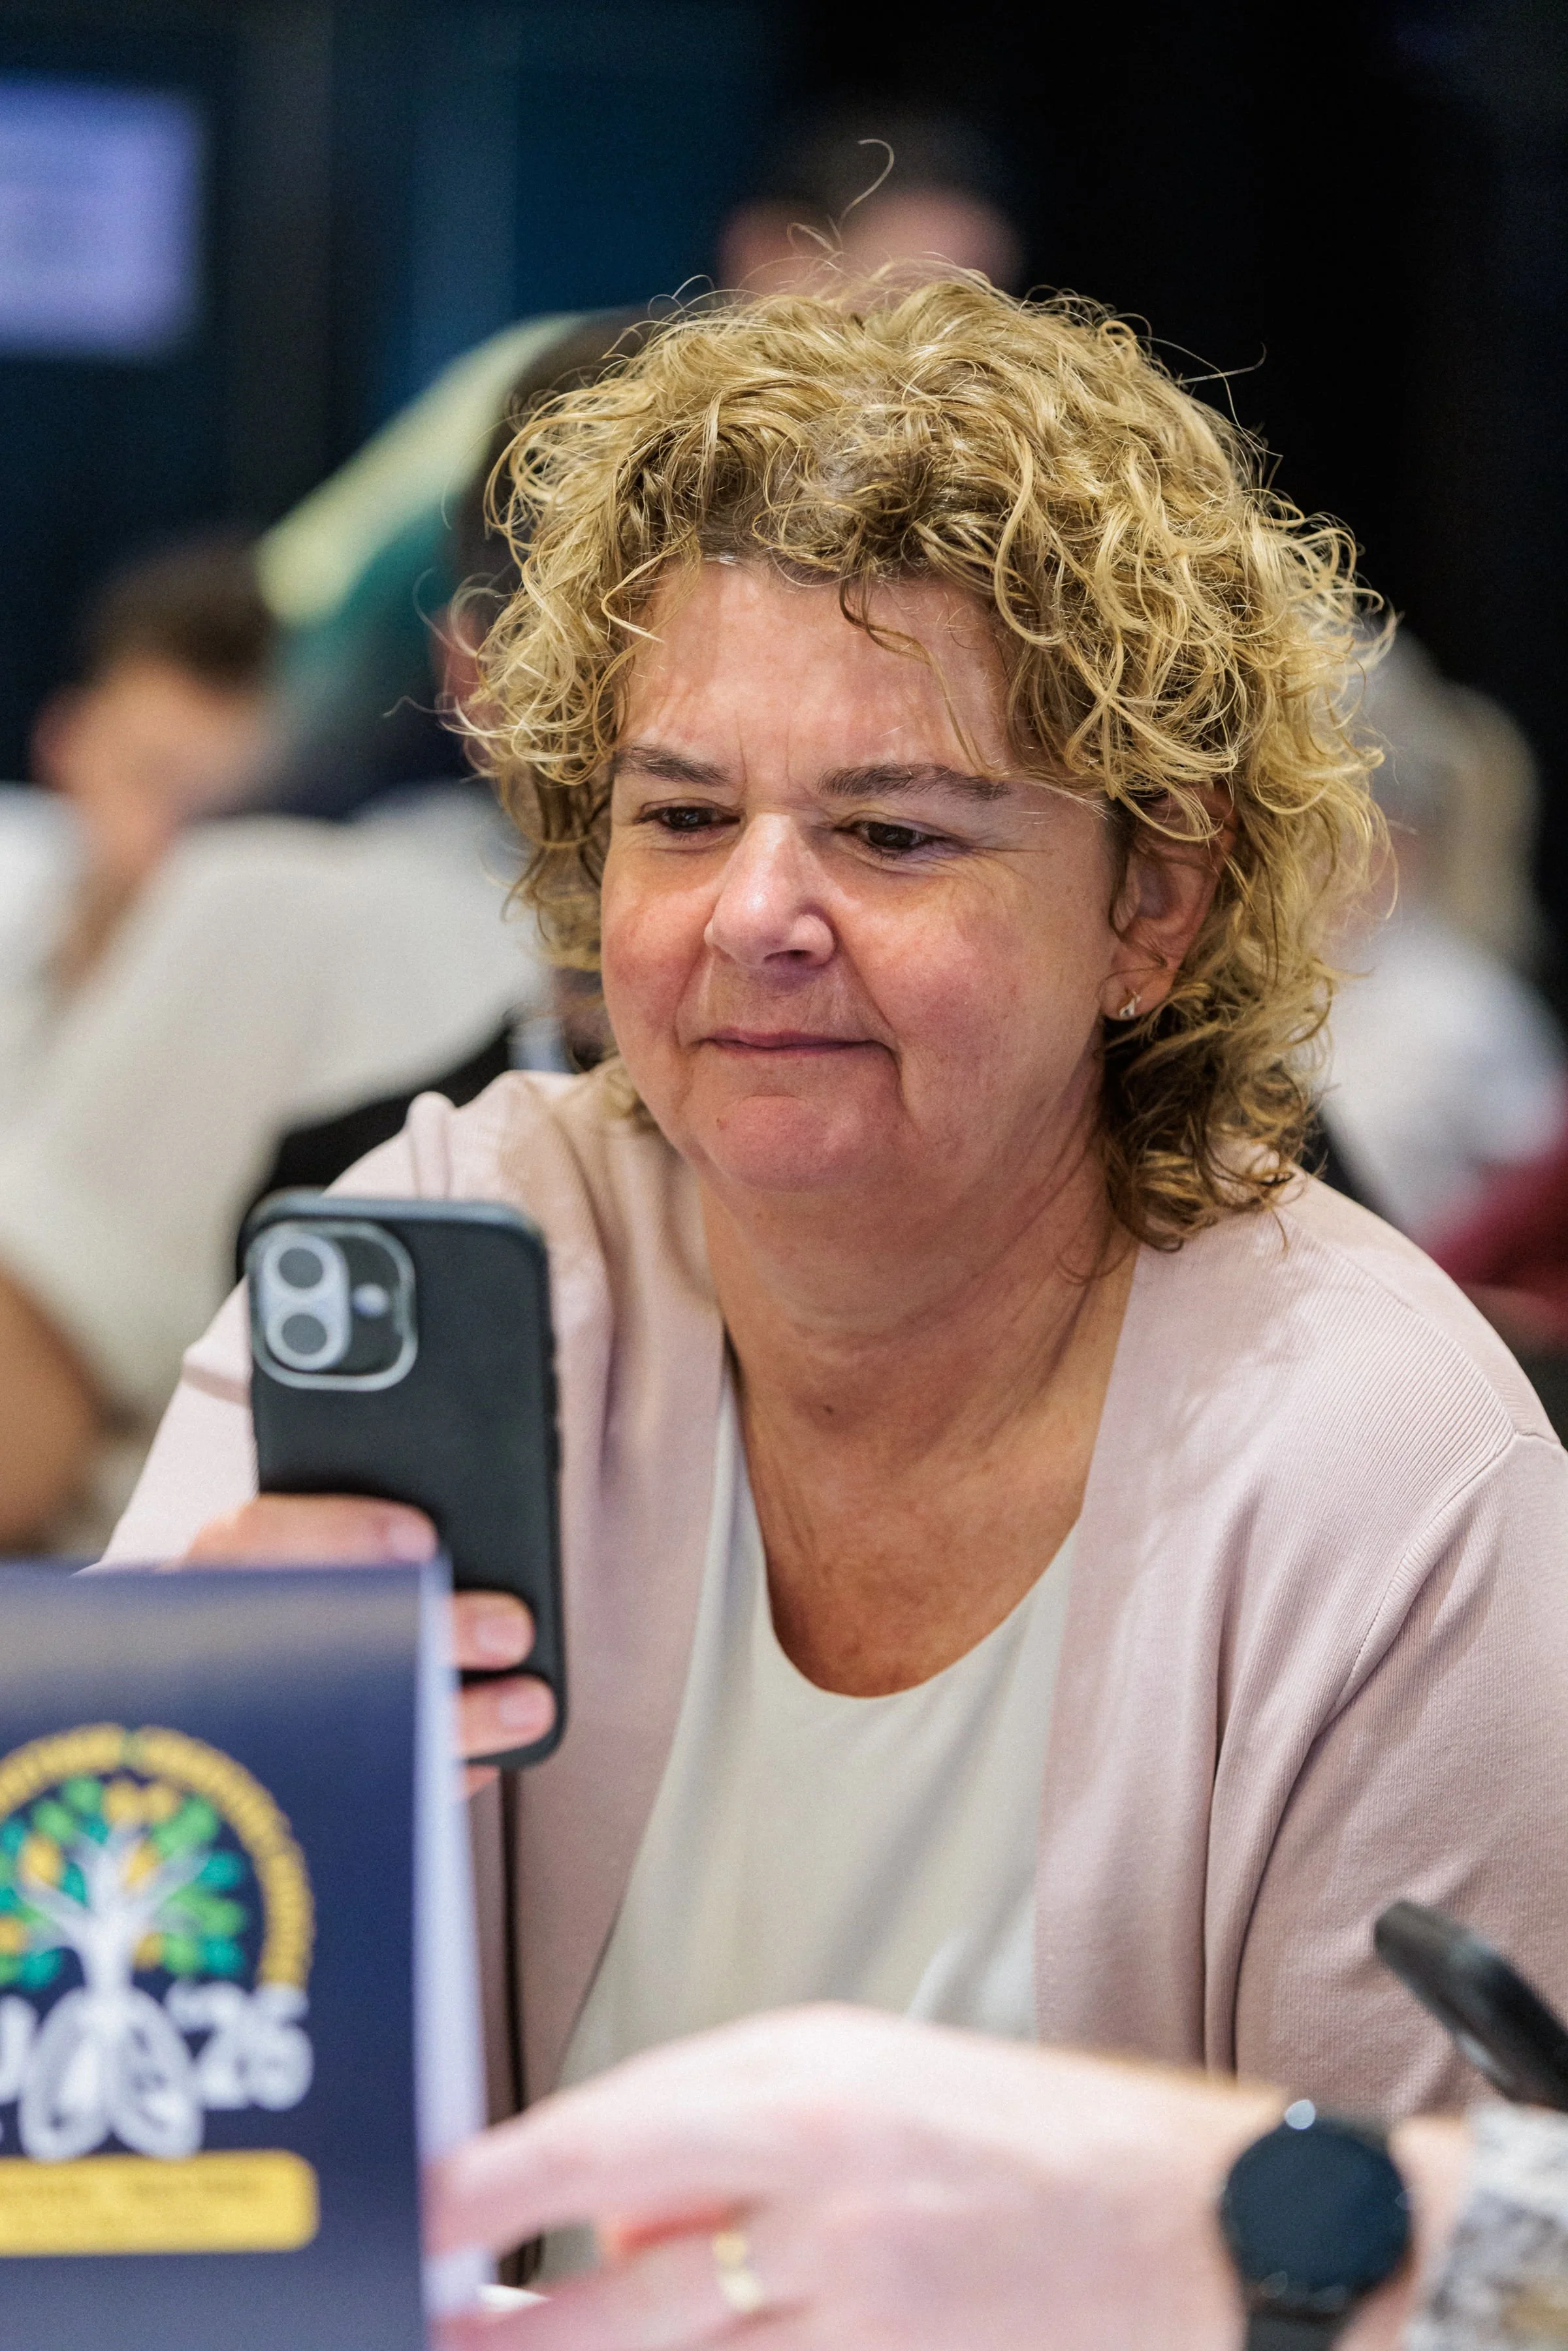
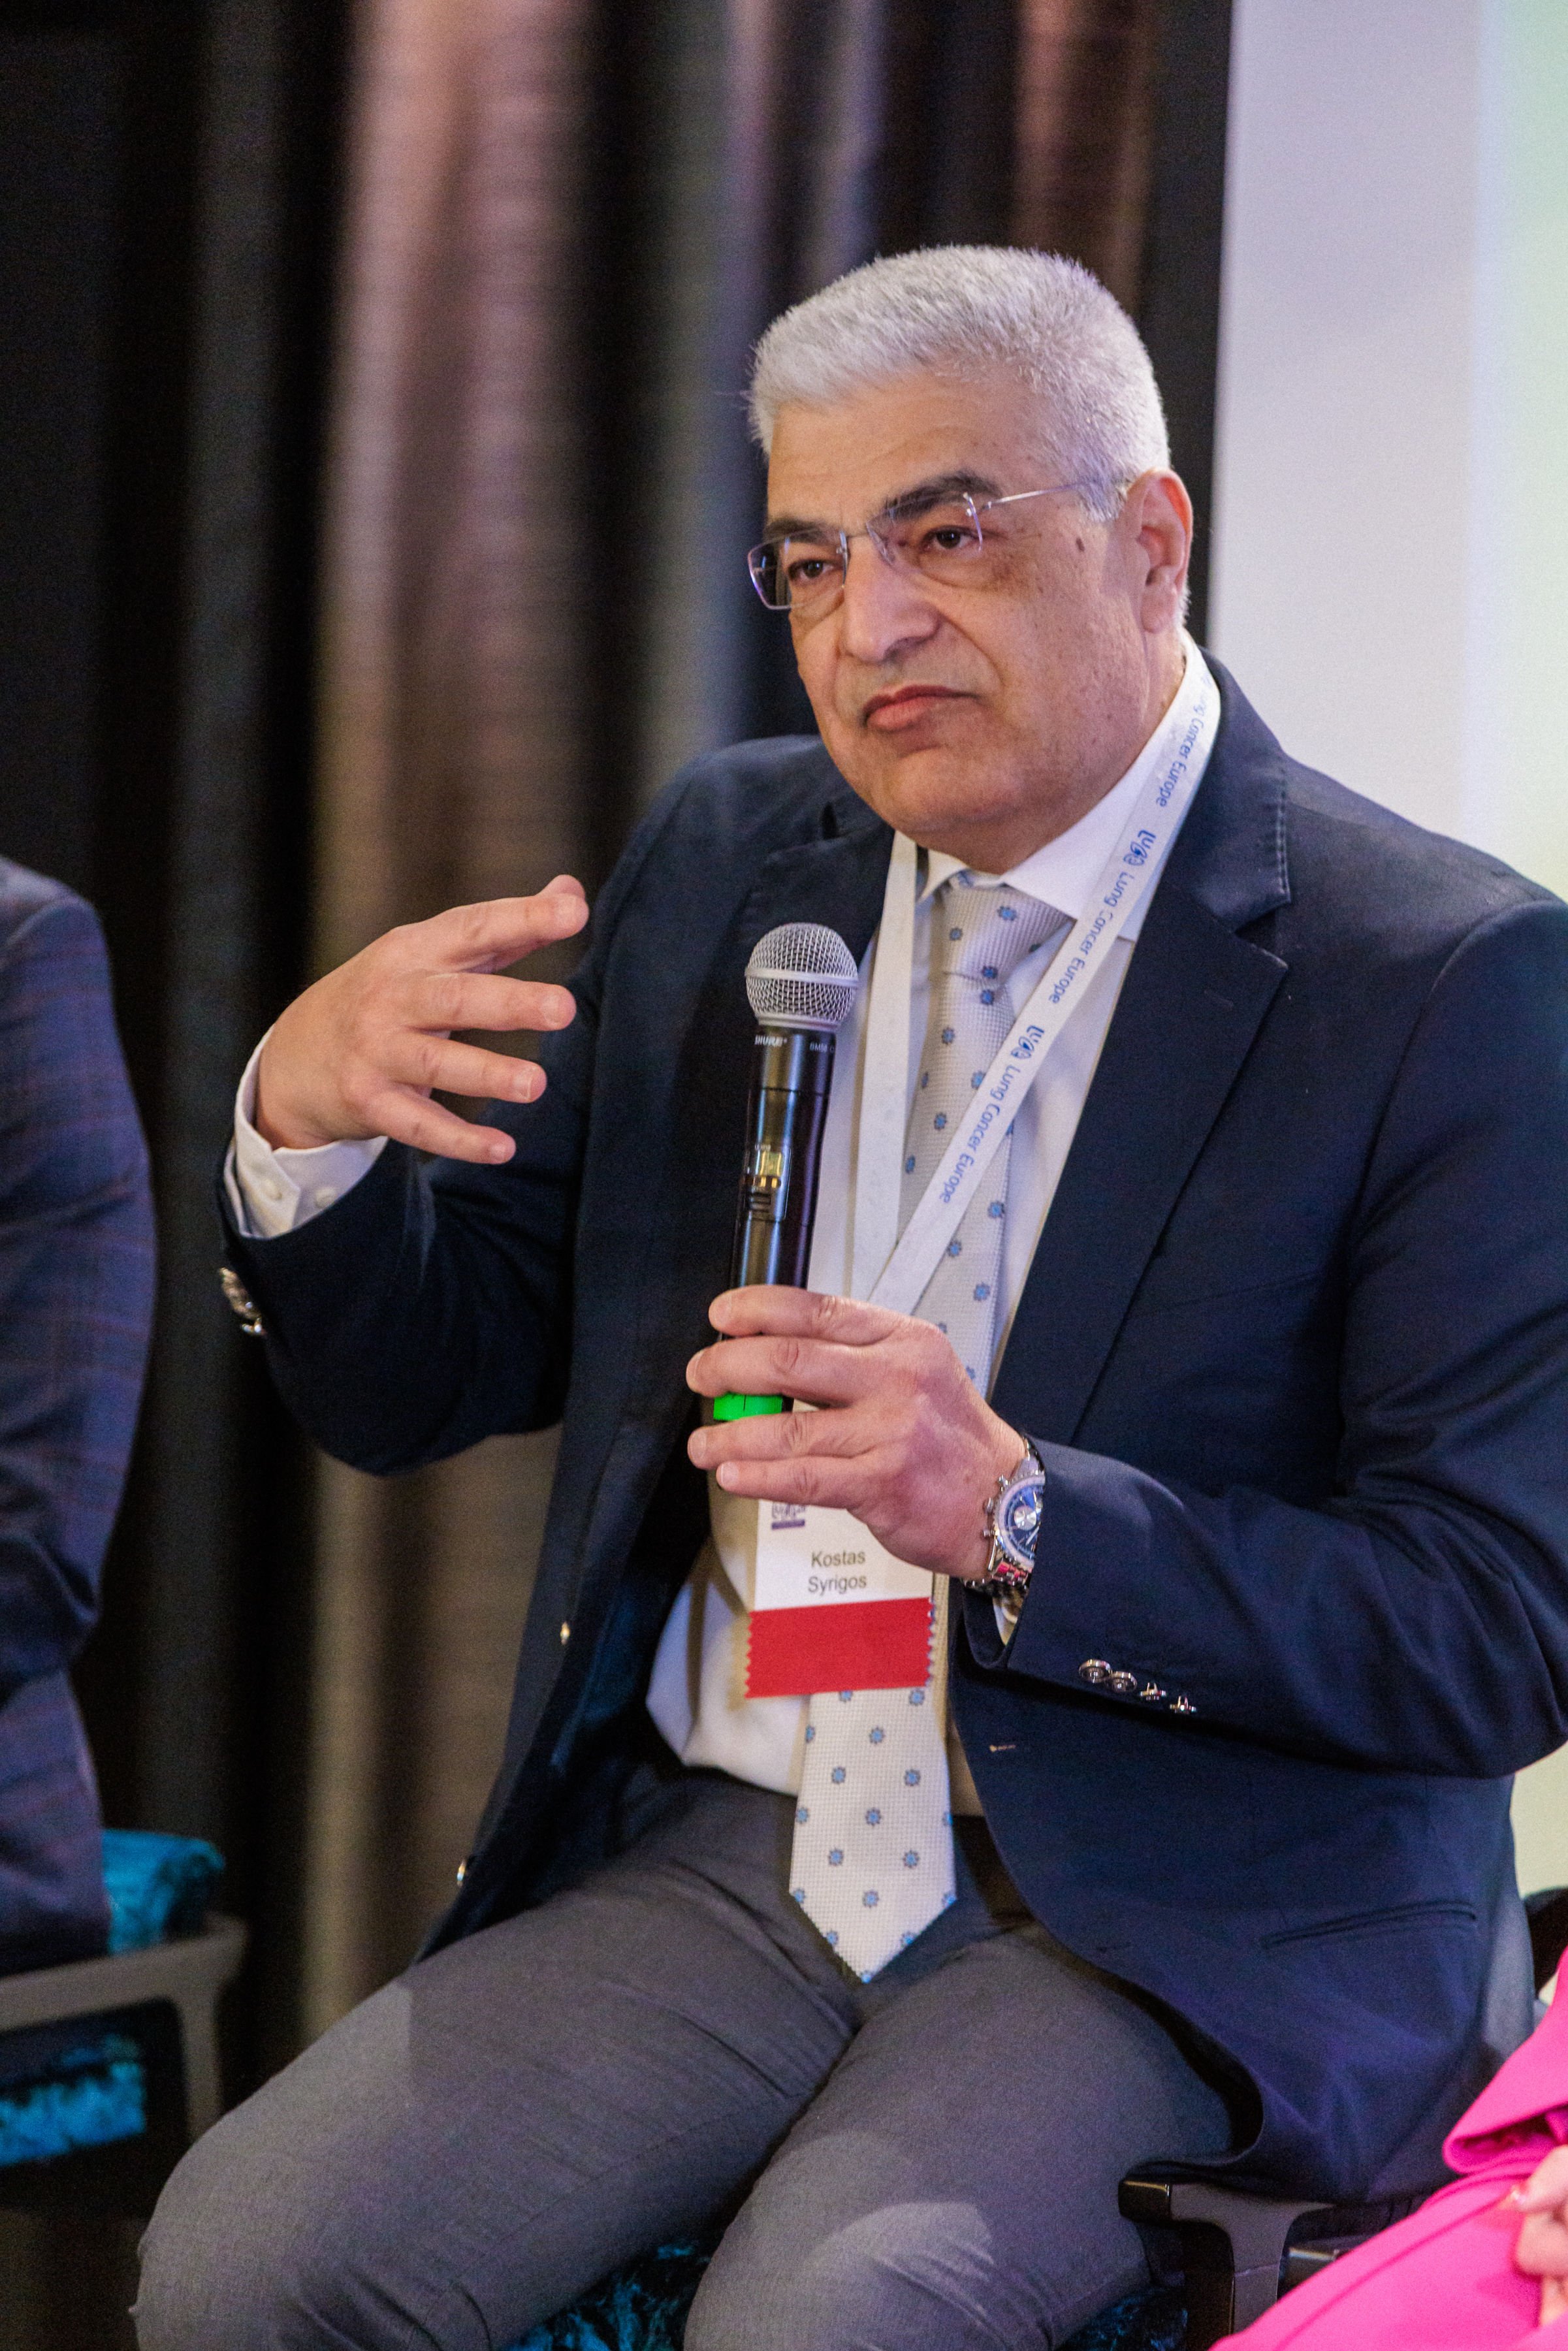
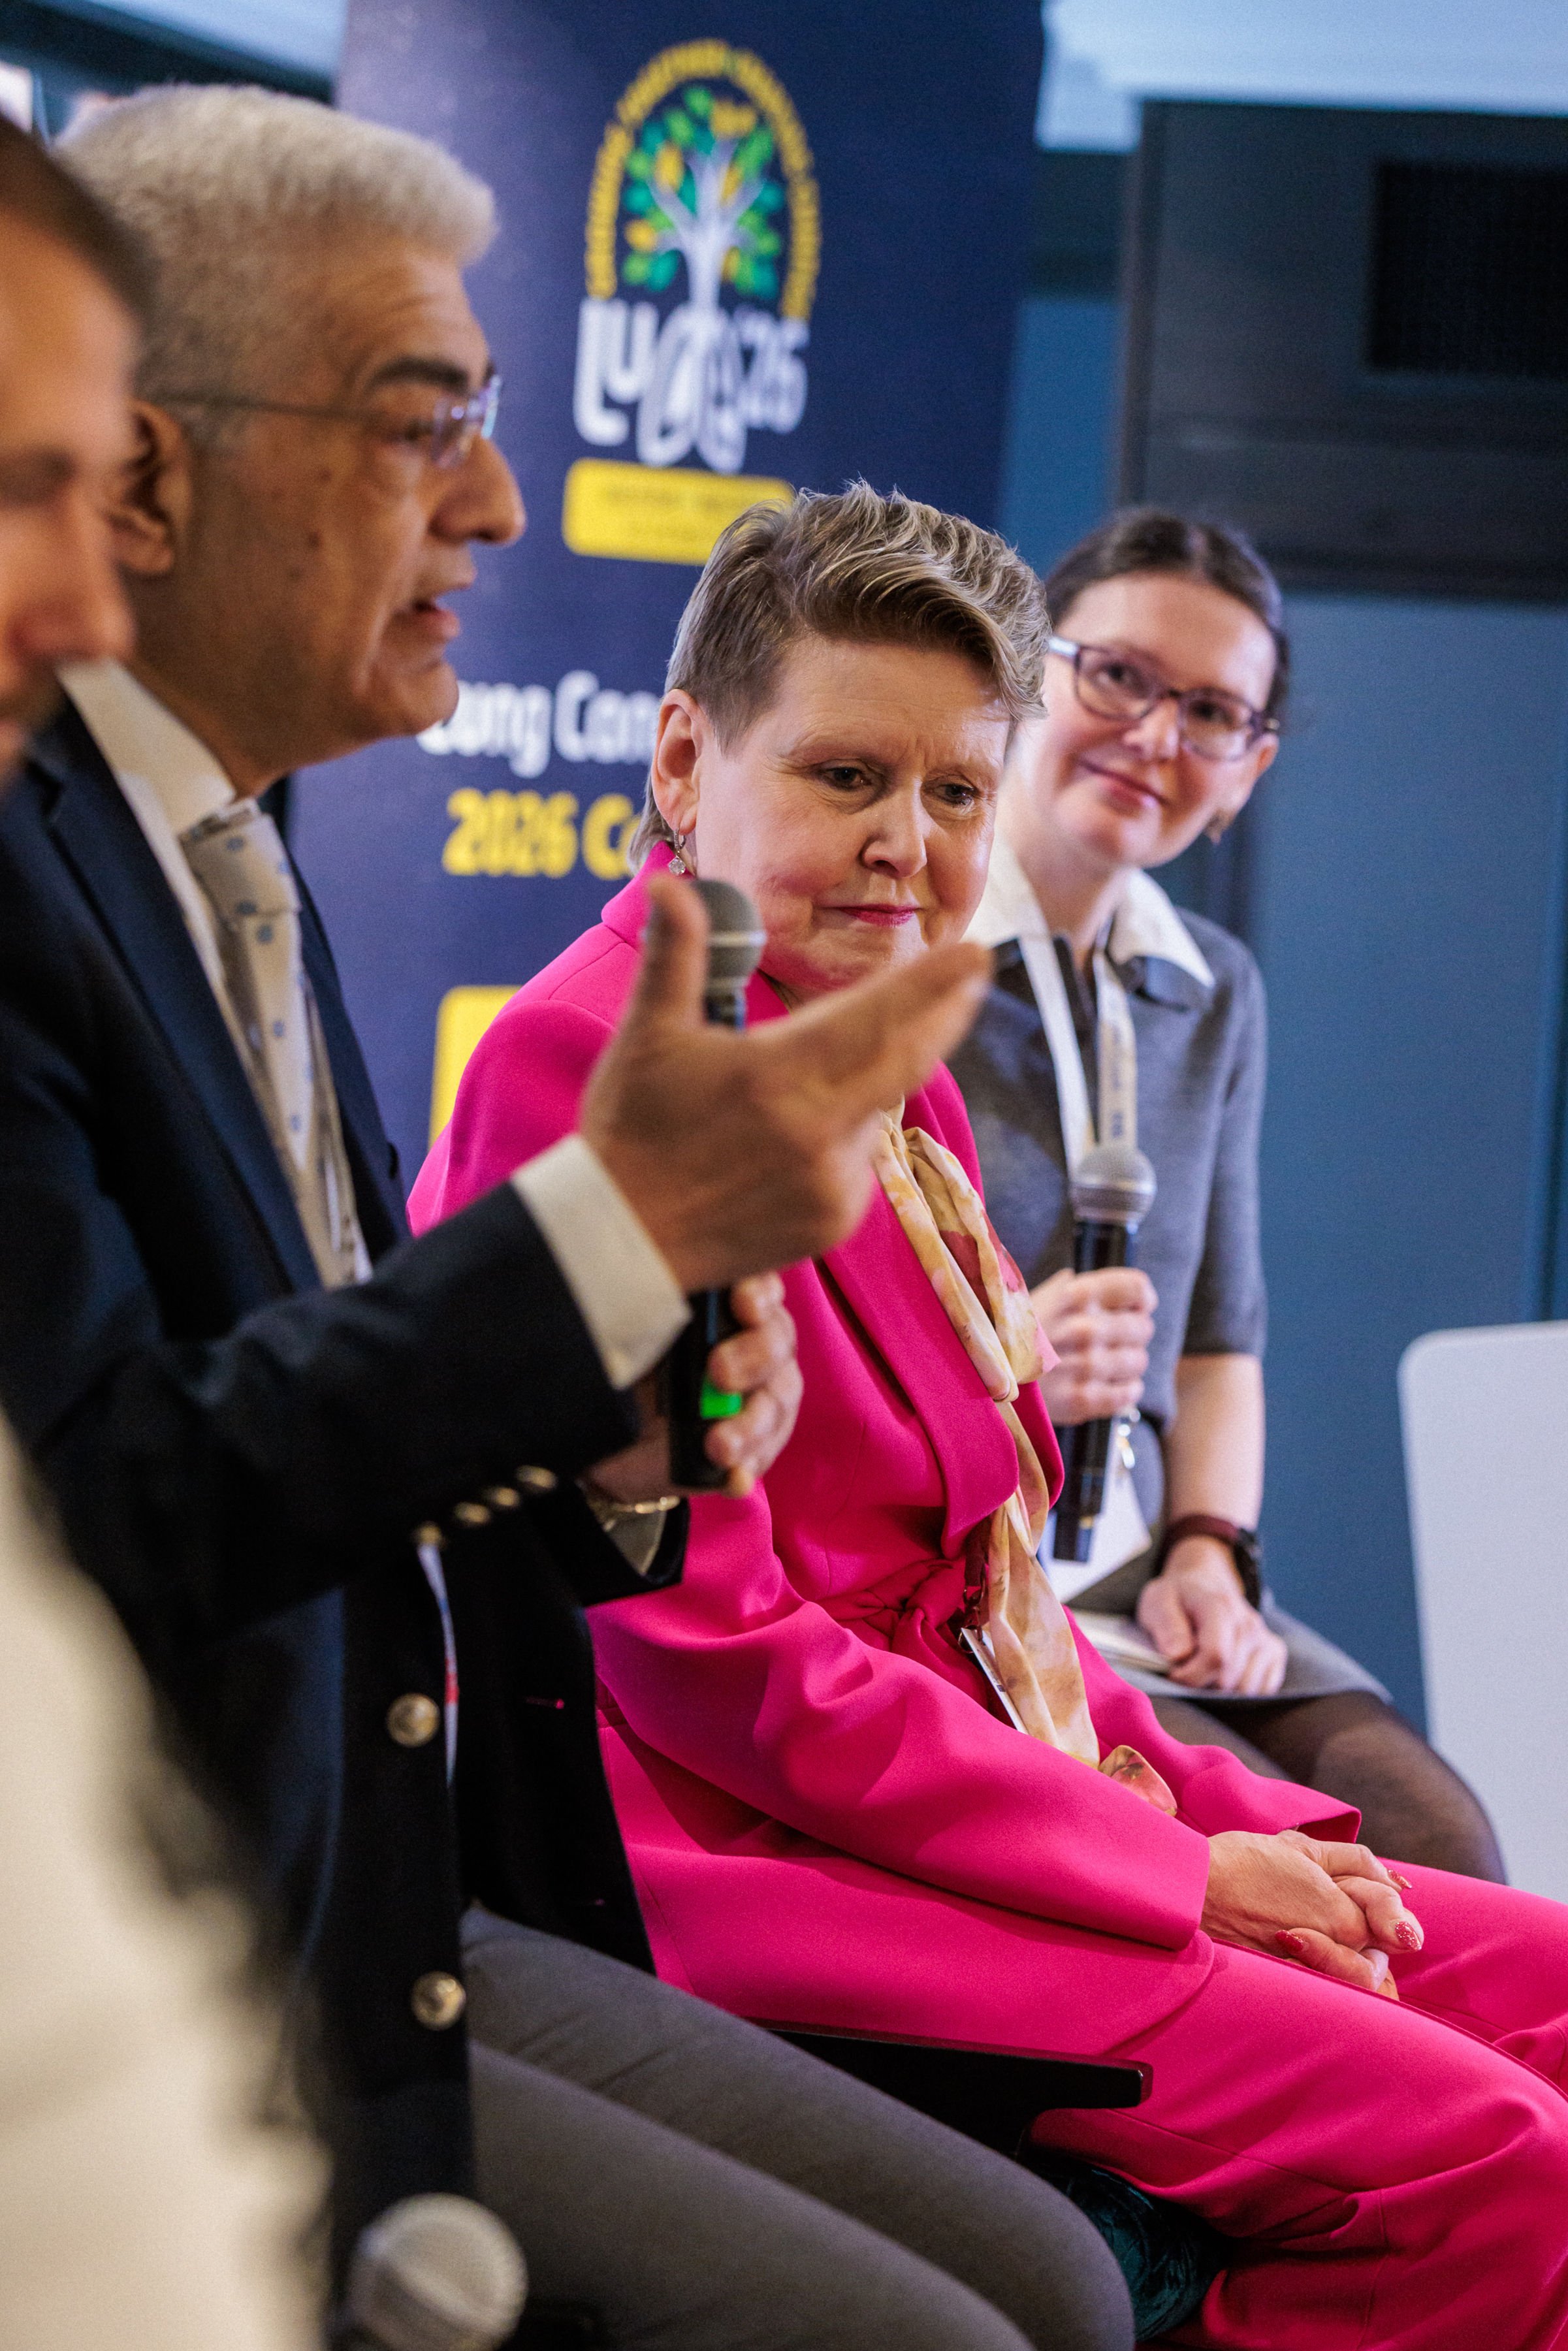
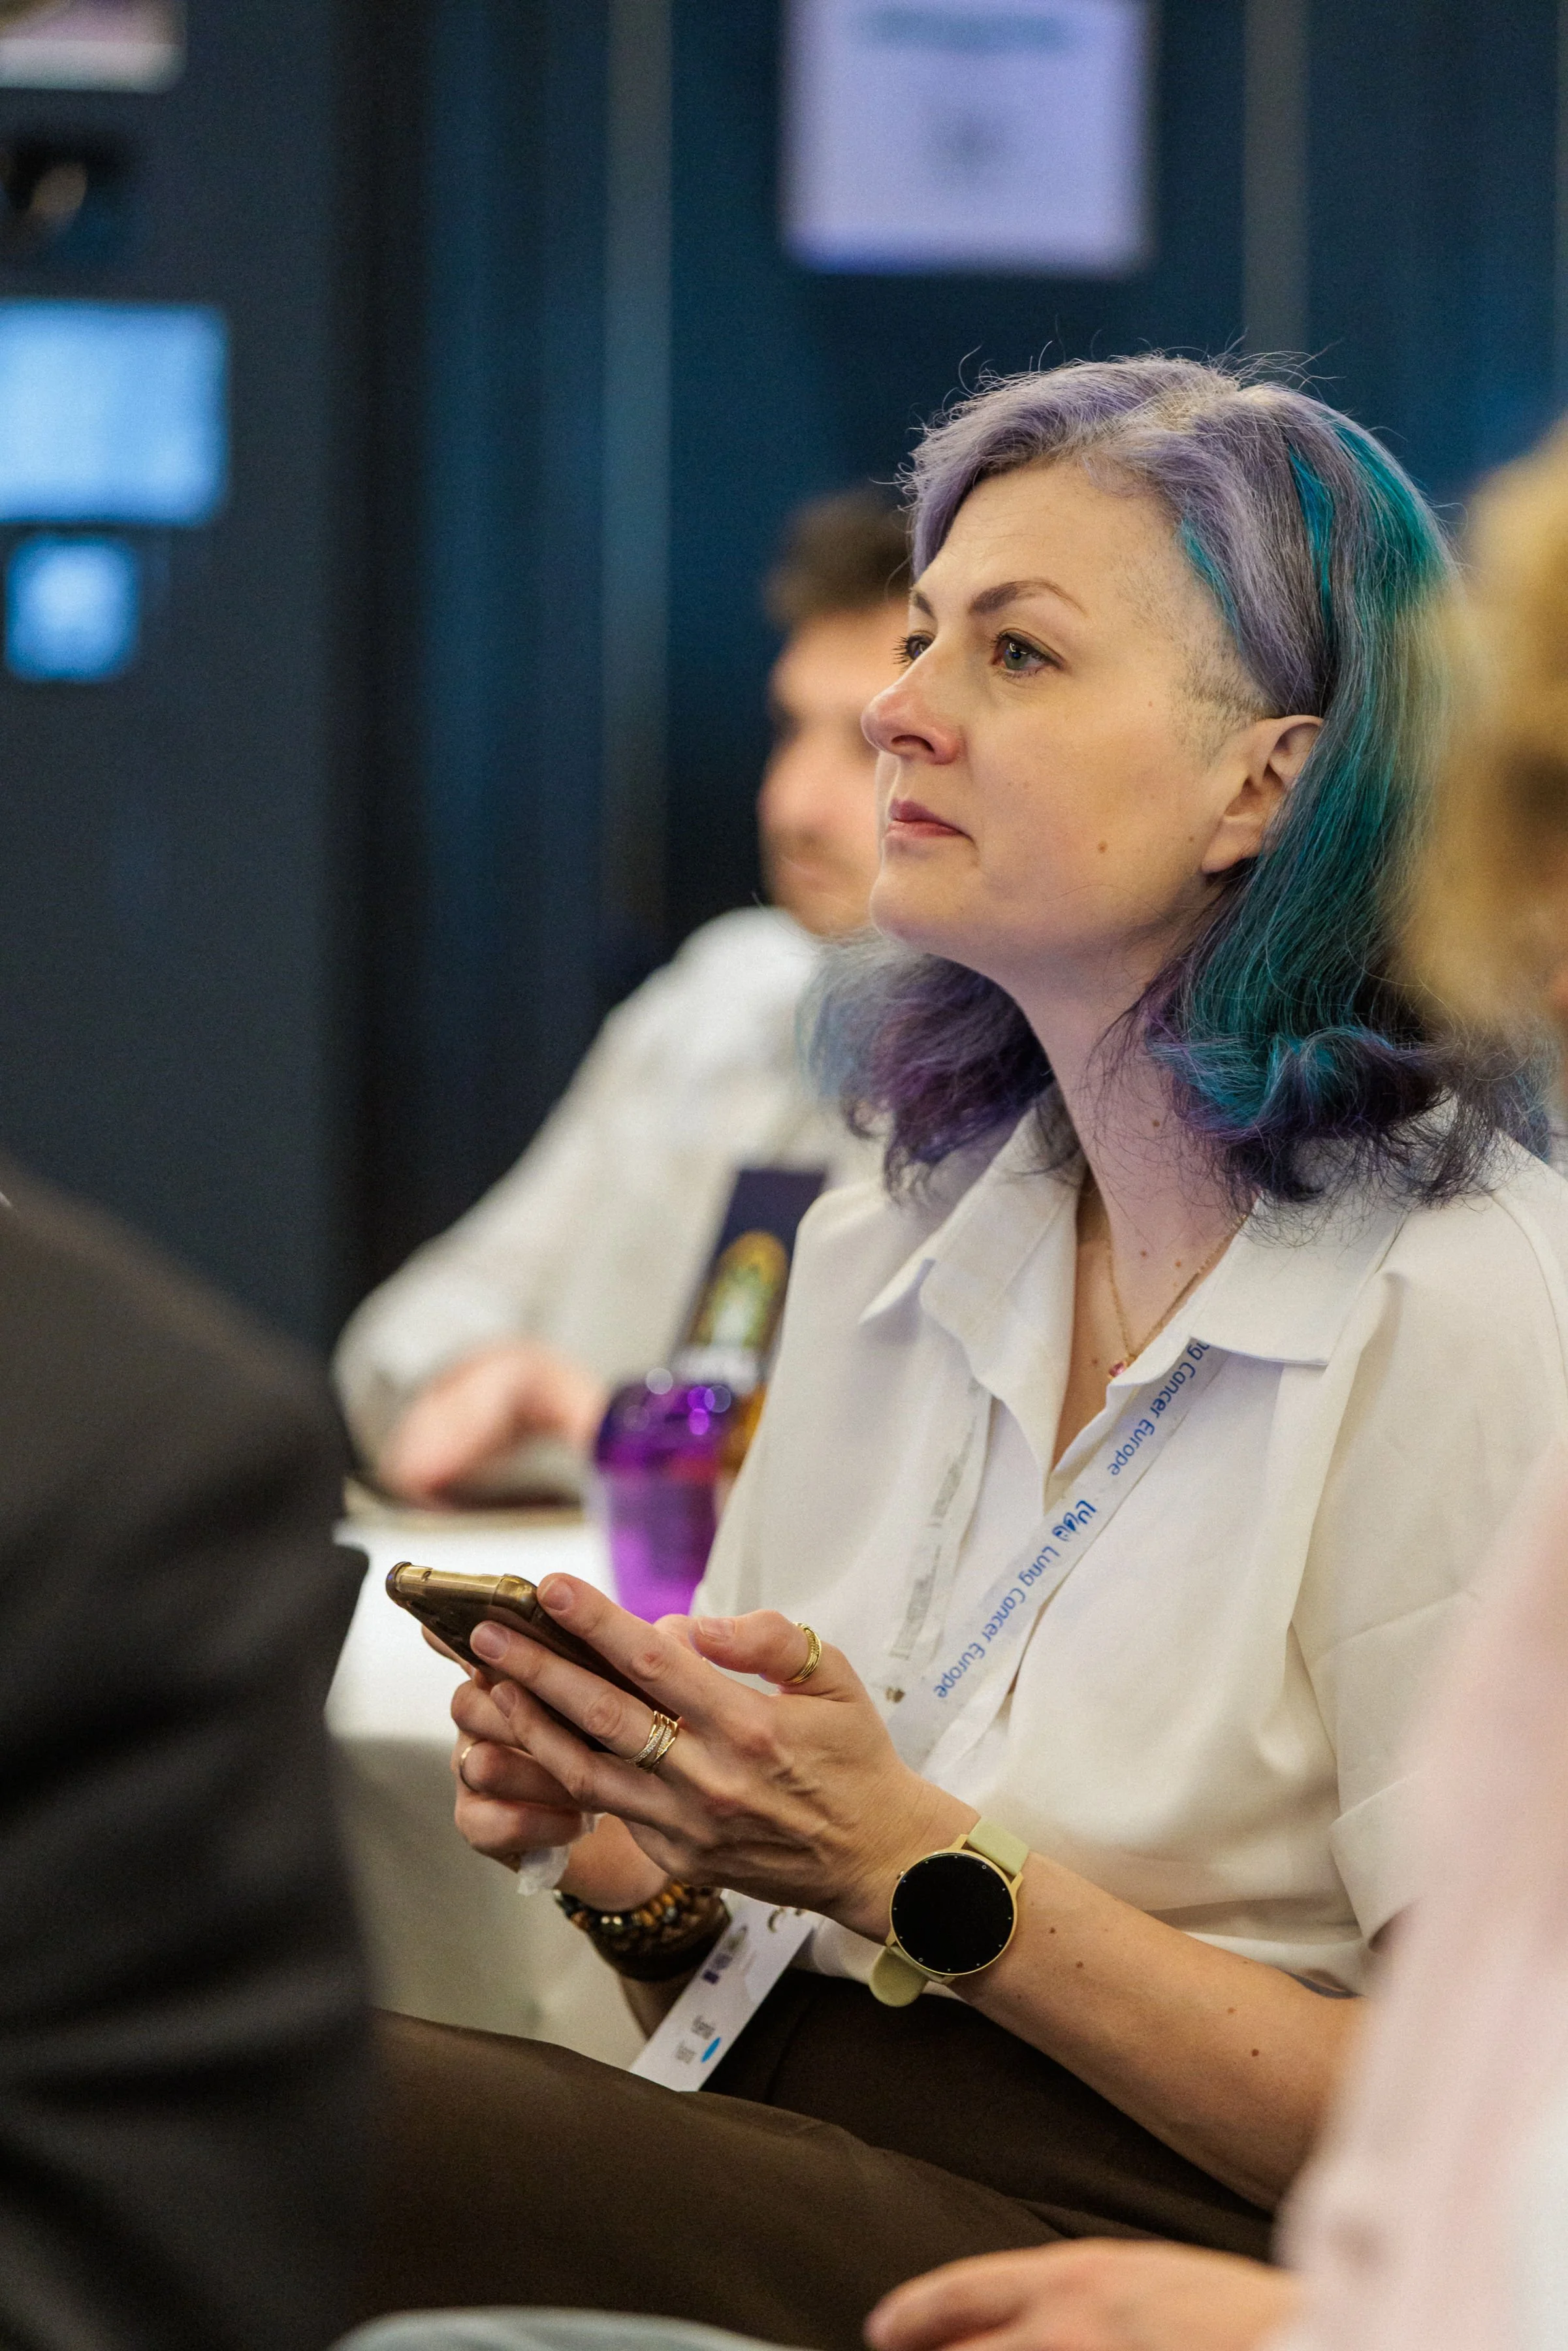
They do not need to be formal. A selfie when you arrive, your journey, the venue or city, people meeting and talking, conference sessions or small behind-the-scenes moments can all help bring an event to life.
-
Wherever possible, take photos vertically. Vertical images are much easier for us to use across social media, newsletters and other digital content.
This includes group photos. It can be tempting to turn the phone sideways, but first consider whether the group could be arranged differently, for example in two rows, closer together or with some people seated. This is not always possible, but a vertical composition will usually give us a much more useful image.
For a genuinely wide scene, such as a large conference room or city view, landscape may occasionally still be the better choice.
-
Send the original, unedited, full-resolution files wherever possible. Email is usually fine. Avoid screenshots or images downloaded from social media, as these reduce the quality.
-
Capture a mix of people, place and activity. This might include speakers, meetings, groups, exhibition stands, the venue, the city, your journey, a selfie or informal moments with other attendees.
The aim is to help people understand what was happening and what it felt like to be there.